1.3.2022
Q400-TRIO DIC System with 3 cameras
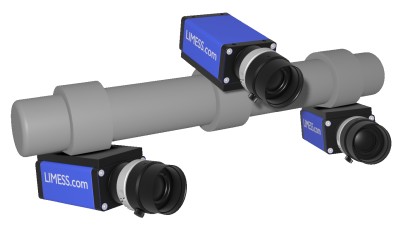
A high-precision 3D-DIC system with 3 cameras. Compared to stereo DIC systems wth 2 camera, the special camera arrangement and evaluation algorithm provides:
- Improved 3D measurement accuracy
- Larger surface area coverage for non flat specimen
Video: The modular concept allows an upgrade with more cameras.
31.8.2021
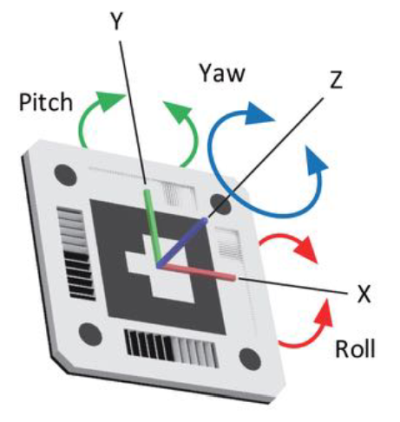
LIMtrack-6D: New 3D motion tracking system with a single camera
On SafetyExpo in Würzburg we have shown the new innovative 3D motion tracking system.3D coordinates, motions and angles are accurately measured with special coded marker and a single camera.
More informations on the product page.
1.10.2020
Q400 EDU DIC system for educational institutions
To support and promote the DIC (Digital Image Correlation) technology at universities and educational institutions, this turnkey and cost effective 3D DIC package is offered. The modular system can be used flexibly for any application and can be extended.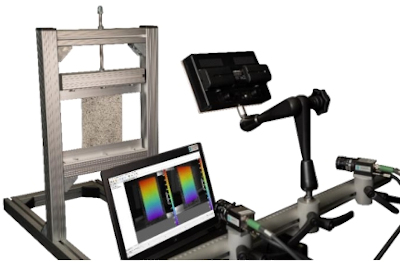
1.5.2020
RTSS Version 20 released
The RTSS system is now even easier to use and provides higher measurement accuracy
- Online help display for precise camera alignment
- New procedure for system calibration
Existing systems can be updated inexpensively.
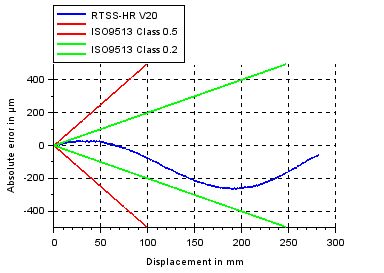
The diagram shows the absolute measurement accuracy of the RTSS-HR system.
The measurement noise and the absolute error result in a classification in the accuracy class 0.2 (ISO 9513) with an image field of 300mm.
Display of a zoom animation of the measurement accuracy.
24.12.2019
48MPixel camera for Q400 System
The Q400 system is now available with robust 48MPixel cameras and fulfills the highest demands on spatial resolution. The monochrome full-size CMOS sensor (8000 × 6000 pixels) is very light-sensitive and low-noise and thus provides unsurpassed prerequisites for high sub-pixel measurement accuracy using the DIC method.
The combination of the crack-optimized agorithms and the high-resolution camera also allows the detection of micro-cracks that are not visible to the human eye.
Applications: Any kind of mechanical material and component testing, detection of cracks, localization of crack tips, measurement of crack growth under static and cyclical loads, etc.
7.5.2018
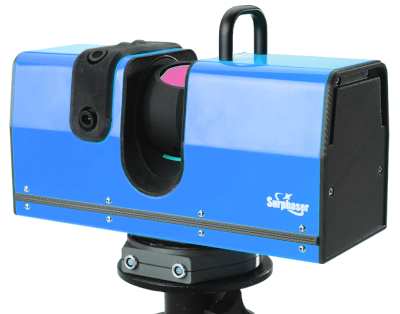
Presentation at the Control exhibition 2019: New Surphaser Modell USR 80
The new model 80 USR is now available:
Measurement range from 0,25mm to 2,5m at 25µm noise !
Laser class 1 (1550nm )
To the product description.Surphaser | 3D Scanner
7.5.2018
Presentation at the Control trade fair 2018: RTSS for fatigue testing
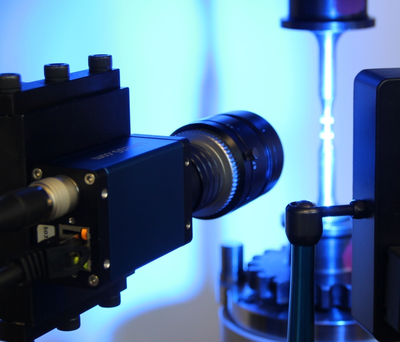
At Control, we are showing for the first time the RTSS system on a Rumul resonance testing machine for fatigue tests up to approx. 250Hz.
The RTSS system measures the specimen strain in real time and transmits the measured values digitally to the testing machine.
Due to its high measuring rate, the RTSS system can also be used at test frequencies up to 1 kHz (eg Rumul Gigaforte).
1.6.2017
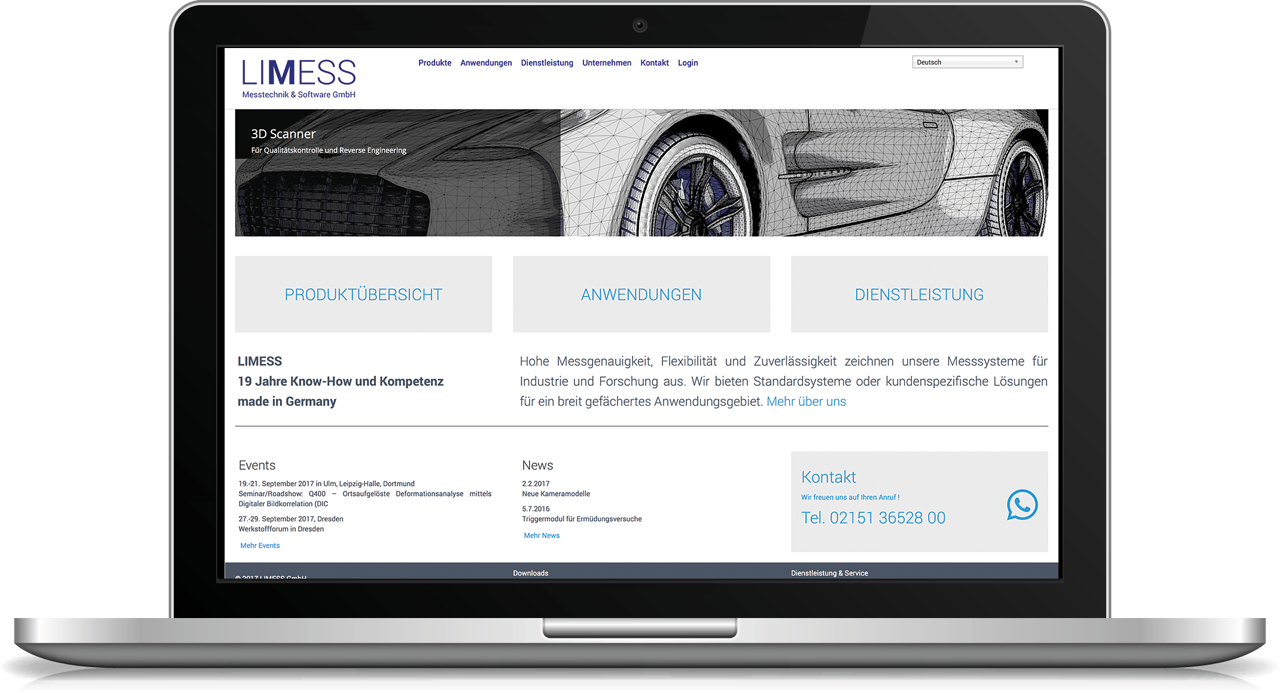
New LIMESS Website published
Our new web pages is more informative and allows for more efficient use.
3.4.2017
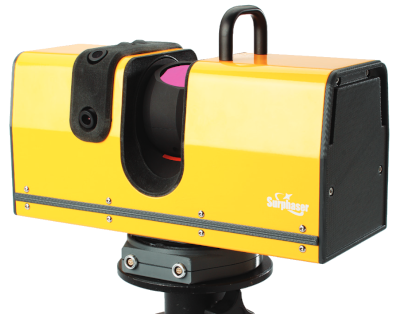
New Surphaser Modell 400
The new model 400 is now available:
Measurement range up to 300m and sub millimeter noise until 160m !
To the product description
2.2.2017
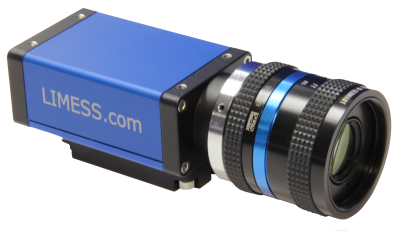
New Camera Models for all LIMESS measurement systems
New camera models give better image quality and higher measurement accuracy.
The cameras are used in our modular systems Q400 (DIC), RTSS Videoextensometer and the StrobeCAM.
5.7.2016
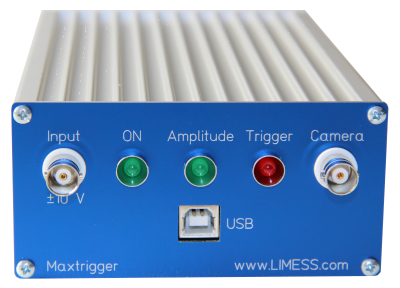
Trigger Module for Fatigue Testing
Our new trigger module is used for fatigue tests (LCF/HCF) up to 1kHz loading frequency.
In combination with our Q400 DIC system e.g. the time course of deformation and crack propagation can be measured
6.4.2016
New Surphaser Modell USR 75
The new model 75 USR is now available:
Measurement range up to 2,5m and 25µm noise !
To the product description

13.9.2014
Self-sufficient camera system for deformation monitoring
First use of our battery-powered image acquisition system at Siemens: The self-sufficient camera system consists of a power-saving processor unit, high-resolution monochrome camera with lens and illumination and records camera images in an adjustable time interval over several months.
The subpixel accurate image evaluation measures displacements and deformations of machines, installations and industrial plants, e.g. when transporting on a bark or ship.
